
How to Install a Switch on Your Gun: A Step-by-Step Guide
Are you interested in adding a switch to your gun but unsure how to do it? Installing a switch can enhance the functionality and customization of your firearm. In this guide, we’ll walk you through the process of putting a switch on your gun, focusing on Glock pistols.
Step 1: Gather Your Materials
Before you begin, make sure you have all the necessary materials and tools:
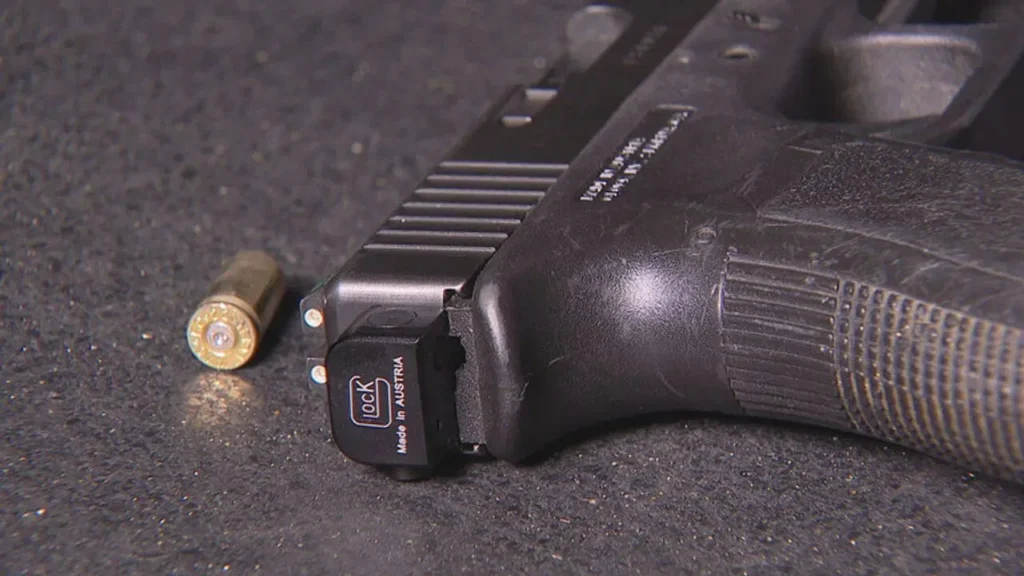
- Gun with compatible mounting points (e.g., Glock pistol)
- Switch kit (ensure it’s compatible with your firearm)
- Screwdriver or hex key (depending on the switch type)
- Loctite or thread locker (optional)
Step 2: Clear Your Firearm
Safety is paramount when working with firearms. Ensure your gun is unloaded and free of ammunition before proceeding with the installation.
Step 3: Choose the Mounting Location
Decide where you want to mount the switch on your gun. This will depend on personal preference, ergonomics, and the specific design of your firearm. Common mounting locations include the rear plate of the slide or the frame of the gun.
Step 4: Prepare the Mounting Surface
If necessary, remove any existing components from the mounting location to make room for the switch. Clean the surface thoroughly to ensure proper adhesion and functionality of the switch.
Step 5: Install the Switch
Follow the manufacturer’s instructions to install the switch onto your gun. This typically involves attaching the switch to the mounting surface using screws or adhesive, depending on the design of the switch. Use a screwdriver or hex key to tighten the screws securely.
Step 6: Test for Functionality
Once the switch is installed, perform a function check to ensure it operates correctly. Test the switch to ensure it engages and disengages smoothly without interfering with the operation of the firearm.
Step 7: Secure the Switch (Optional)
If desired, apply a small amount of Loctite or thread locker to the screws before tightening them to prevent them from loosening over time. Be careful not to over-tighten the screws, as this could damage the switch or the mounting surface.
Step 8: Final Inspection
Inspect the switch and the surrounding area to ensure everything is installed correctly and securely. Ensure there are no obstructions or interference with the firearm’s operation.
Congratulations! You have successfully installed a switch on your gun. Now you can enjoy the added functionality and customization that the switch provides.

Where to Find Gun Accessories
If you’re looking for switch kits or other gun accessories, the Texas Gun Store offers a wide selection of products for Glock pistols and other firearms. Visit their online store here to explore their inventory and find the perfect accessories for your gun.
In conclusion, installing a switch on your gun is a straightforward process that can enhance its functionality and customization. By following these steps and exercising caution, you can safely and effectively add a switch to your firearm.